According to data collected between 2011 and 2015, bystander AED administration improves cardiac arrest survival and ensures minimal injuries. As such, more and more facilities are placing AEDs in close proximity so that bystanders don’t have to wait for EMTs to arrive.
Automated external defibrillators (AEDs) are designed to restore the heart’s regular rhythm through electrical shocks. However, this is a delicate process that can only work if the victim has a shockable rhythm.
Understanding the AED defibrillation process is easy when you have the right information at hand. If you’re unfamiliar with AEDs, don’t fret—we will guide you through the procedure one step at a time.
What Does Defibrillation Mean?
Defibrillation involves sending a short electrical impulse to restore the heart’s normal rhythm using an automated external defibrillator. While the process may appear complicated at first, it can be easily learned by getting trained in AEDs.
A healthy heart rhythm is necessary to keep blood flowing to key organs, including the brain. So, administering an AED as soon as possible can prevent death or permanent brain damage.
In public settings or in the community, when fast access to medical treatment is not possible, the use of AEDs can make the difference between life and death.
When Can an AED Be Used?
An AED is made to treat an irregular heartbeat, which can result from multiple conditions. For example, cardiac illness, heart attacks, electrocution, drowning, and chest injuries can all lead to SCA. When a person has SCA, an AED can be used to assess their cardiac rhythm.
However, sometimes you may need to use an AED for reasons not involving a cardiac arrest. In such cases, it’s important to determine the type of heart rhythm and whether it’s shockable or not. Thankfully, the AED will send a shock vs. no-shock message depending on its analysis so you know how to proceed.
If someone is breathing normally or has a regular heartbeat, an AED should not be used on them. It is only applied in dire circumstances, such as when someone has collapsed and is not breathing.
Call for emergency help immediately if you’re not sure whether to use an AED. They can also give you instructions on how to keep the victim alive until their arrival.
What Are the Types of AEDs?
There are two main types of AEDs—those for public vs. professional use. The former are used in high-traffic places like malls, schools, government buildings, hospitals, etc. The latter are used by medical professionals and are a staple item in a first-aid kit.
Both types of AEDs can be semi-automated and fully automated. Fully automated AEDs come in handy when used by inexperienced and untrained bystanders, whereas semi-automated AEDs are mostly used by medical personnel or trained individuals.
How Does an AED Work?
Once the AED is turned on, two adhesive pads are attached to the user’s exposed chest. Following this, the AED examines the user’s heart rhythm and, if required, administers an electrical shock through the pads to help the user’s heartbeat return to normal.
Even for those with little experience, AEDs are made to be simple and straightforward to operate. Airports, schools, and gyms are just a few of the public locations where you might find them. But keep in mind to abide by the device’s instructions and dial 911 as soon as you can if you ever need to use an AED.
How to Perform Defibrillation
Defibrillation is a crucial procedure that can save a person’s life during sudden cardiac arrest. If you’re ever in the position of having to use one for the first time, stick to the steps below:
Step 1: Determine the Signs
Looking out for the signs that point to a sudden cardiac arrest is the first step in performing defibrillation. The individual may collapse, have no pulse or respiration, and be unresponsive as signs of a sudden cardiac arrest.
Step 2: Prepare the Patient
The next step in defibrillation is to prepare the patient after evaluating the situation. Ensure that the patient is laying flat, ideally on the ground or floor. The patient’s chest should be free of any clothes so that the electrode pads may be applied directly to the skin.
Dry off the patient’s chest with a towel or piece of cloth if there is any dampness or wetness there. To avoid interfering with the defibrillation procedure, make sure no passersby or other individuals are touching the patient or the surrounding area.
Step 3: Turn on the AED
Find the automated external defibrillator and activate it by clicking the power button. Pay attention to the AED’s vocal and visual instructions. To ensure the right amount of energy is given, certain AEDs may ask you to choose a specified patient age or weight range.
Don’t touch the patient while the AED is assessing their cardiac rhythm, and be sure to carefully follow the instructions.
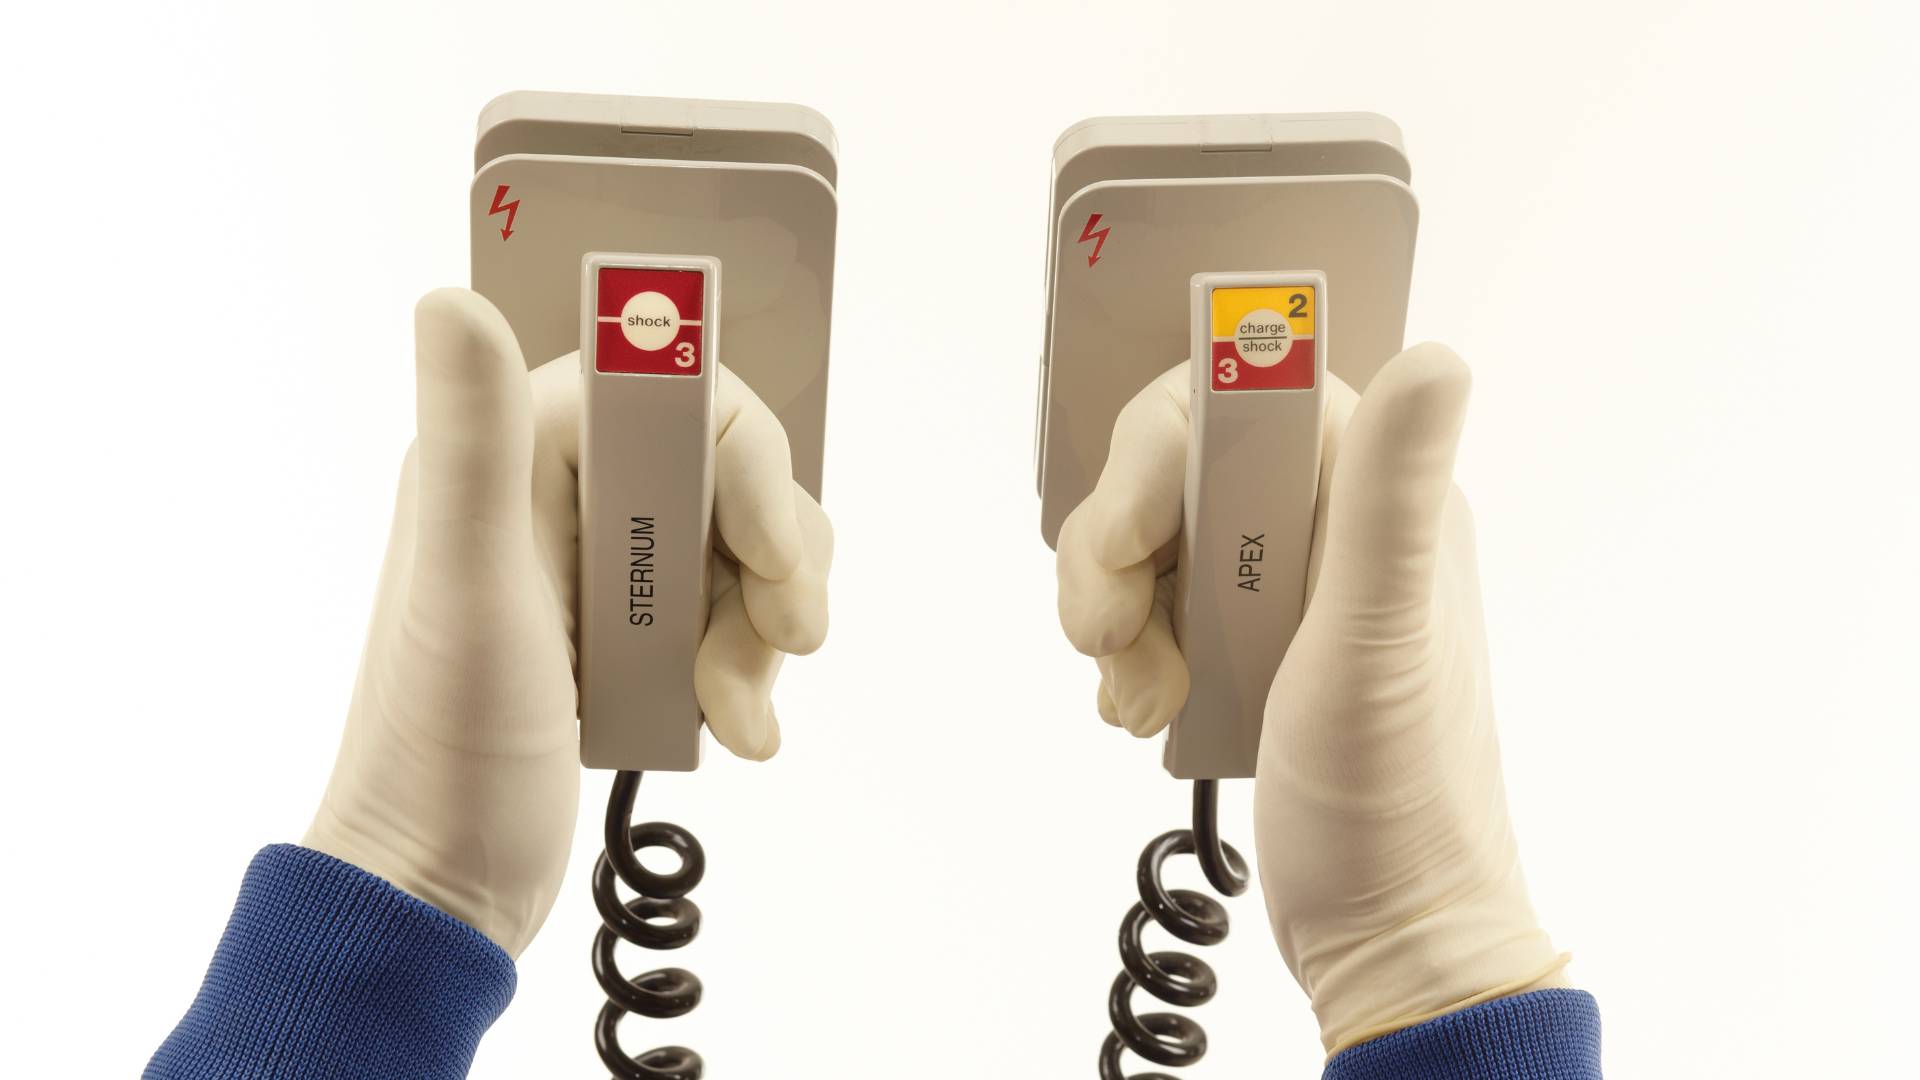
Step 4: Attach the Electrode Chest Pads
The chest pads should be taken out of the container, and the backing should be peeled off to reveal the adhesive side. Place the first pad below the collarbone, towards the upper right side of the patient’s chest, and position the second pad below the left armpit.
Check to make sure the pads are securely attached to the skin and are not in contact with any jewelry or clothes. The AED will automatically assess the patient’s cardiac rhythm after the chest pads are fastened to decide whether a shock is required.
Step 5: Analyze the Heart Rhythm
The AED automatically analyzes the patient’s cardiac rhythm when the electrode pads are attached to decide whether a shock is required. Throughout the analysis, make sure nobody touches the patient or the electrode pads.
The AED will indicate the need for a shock through both visual and audible prompts. The AED will charge and signal you to leave the area and refrain from touching the patient if a shock is required.
Step 6: Deliver a Shock
Make sure no one is in contact with the patient or the electrode pads prior to administering the shock. Ensure the surroundings are free of obstacles and then activate the shock by pressing the designated button on the AED.
The proper amount of energy needed to restore the patient’s cardiac rhythm will automatically be delivered by the AED. After administering the shock, the AED will notify you to check the patient’s respiration and pulse or to continue conducting CPR if necessary.
Step 7: Perform CPR
Place your hands on the patient’s chest in the middle and apply pressure for at least two inches, allowing the patient’s chest to recoil in-between compressions. Give the patient two rescue breaths by tilting the head back and blowing into the patient’s mouth after 30 compressions.
Unless a shock is necessary or emergency aid arrives, keep administering CPR.
Step 8: Repeat as Necessary
It is important to repeat the cycle of CPR compressions and rescue breaths as necessary until medical help arrives. As long as more advanced medical treatment is not yet available, you should keep the patient’s brain and heart pumped with oxygen-rich blood by performing CPR.
Step 9: Handover to EMS
After administering a shock or conducting CPR, it is critical to keep doing what the AED instructs until professional help arrives. Make sure you provide EMS personnel a thorough explanation of what transpired and the actions done to assist the patient when they arrive. This information can help them make more educated decisions about their continued therapy.
Final Thoughts
Understanding the AED defibrillation process and the effect it may have on a person’s life is crucial. In the case of sudden cardiac arrest, an AED can assist restart a person’s heartbeat and save their life by administering an electric shock through the chest.
Because of their user-friendly design and increasing availability in public spaces, these devices are accessible in the direst situations. There are two types of AEDs—those placed in public areas and those for professional use.
If you ever need to administer defibrillation, don’t worry—the AED will give you step-by-step instructions on reviving the patient. Just remember to stay calm, follow the device’s directions, and call 911 before starting the procedure.